How to Prevent HubSpot from Creating Duplicate Customers in QuickBooks Whenever You Get a New Client
Nov 26, 2024
Enrique Flores
Are you a B2B company facing issues with duplicate customer in QuickBooks every time you sync new clients from HubSpot?
Check out the full video guide on how to fix that
The Challenge: Duplicate Contacts
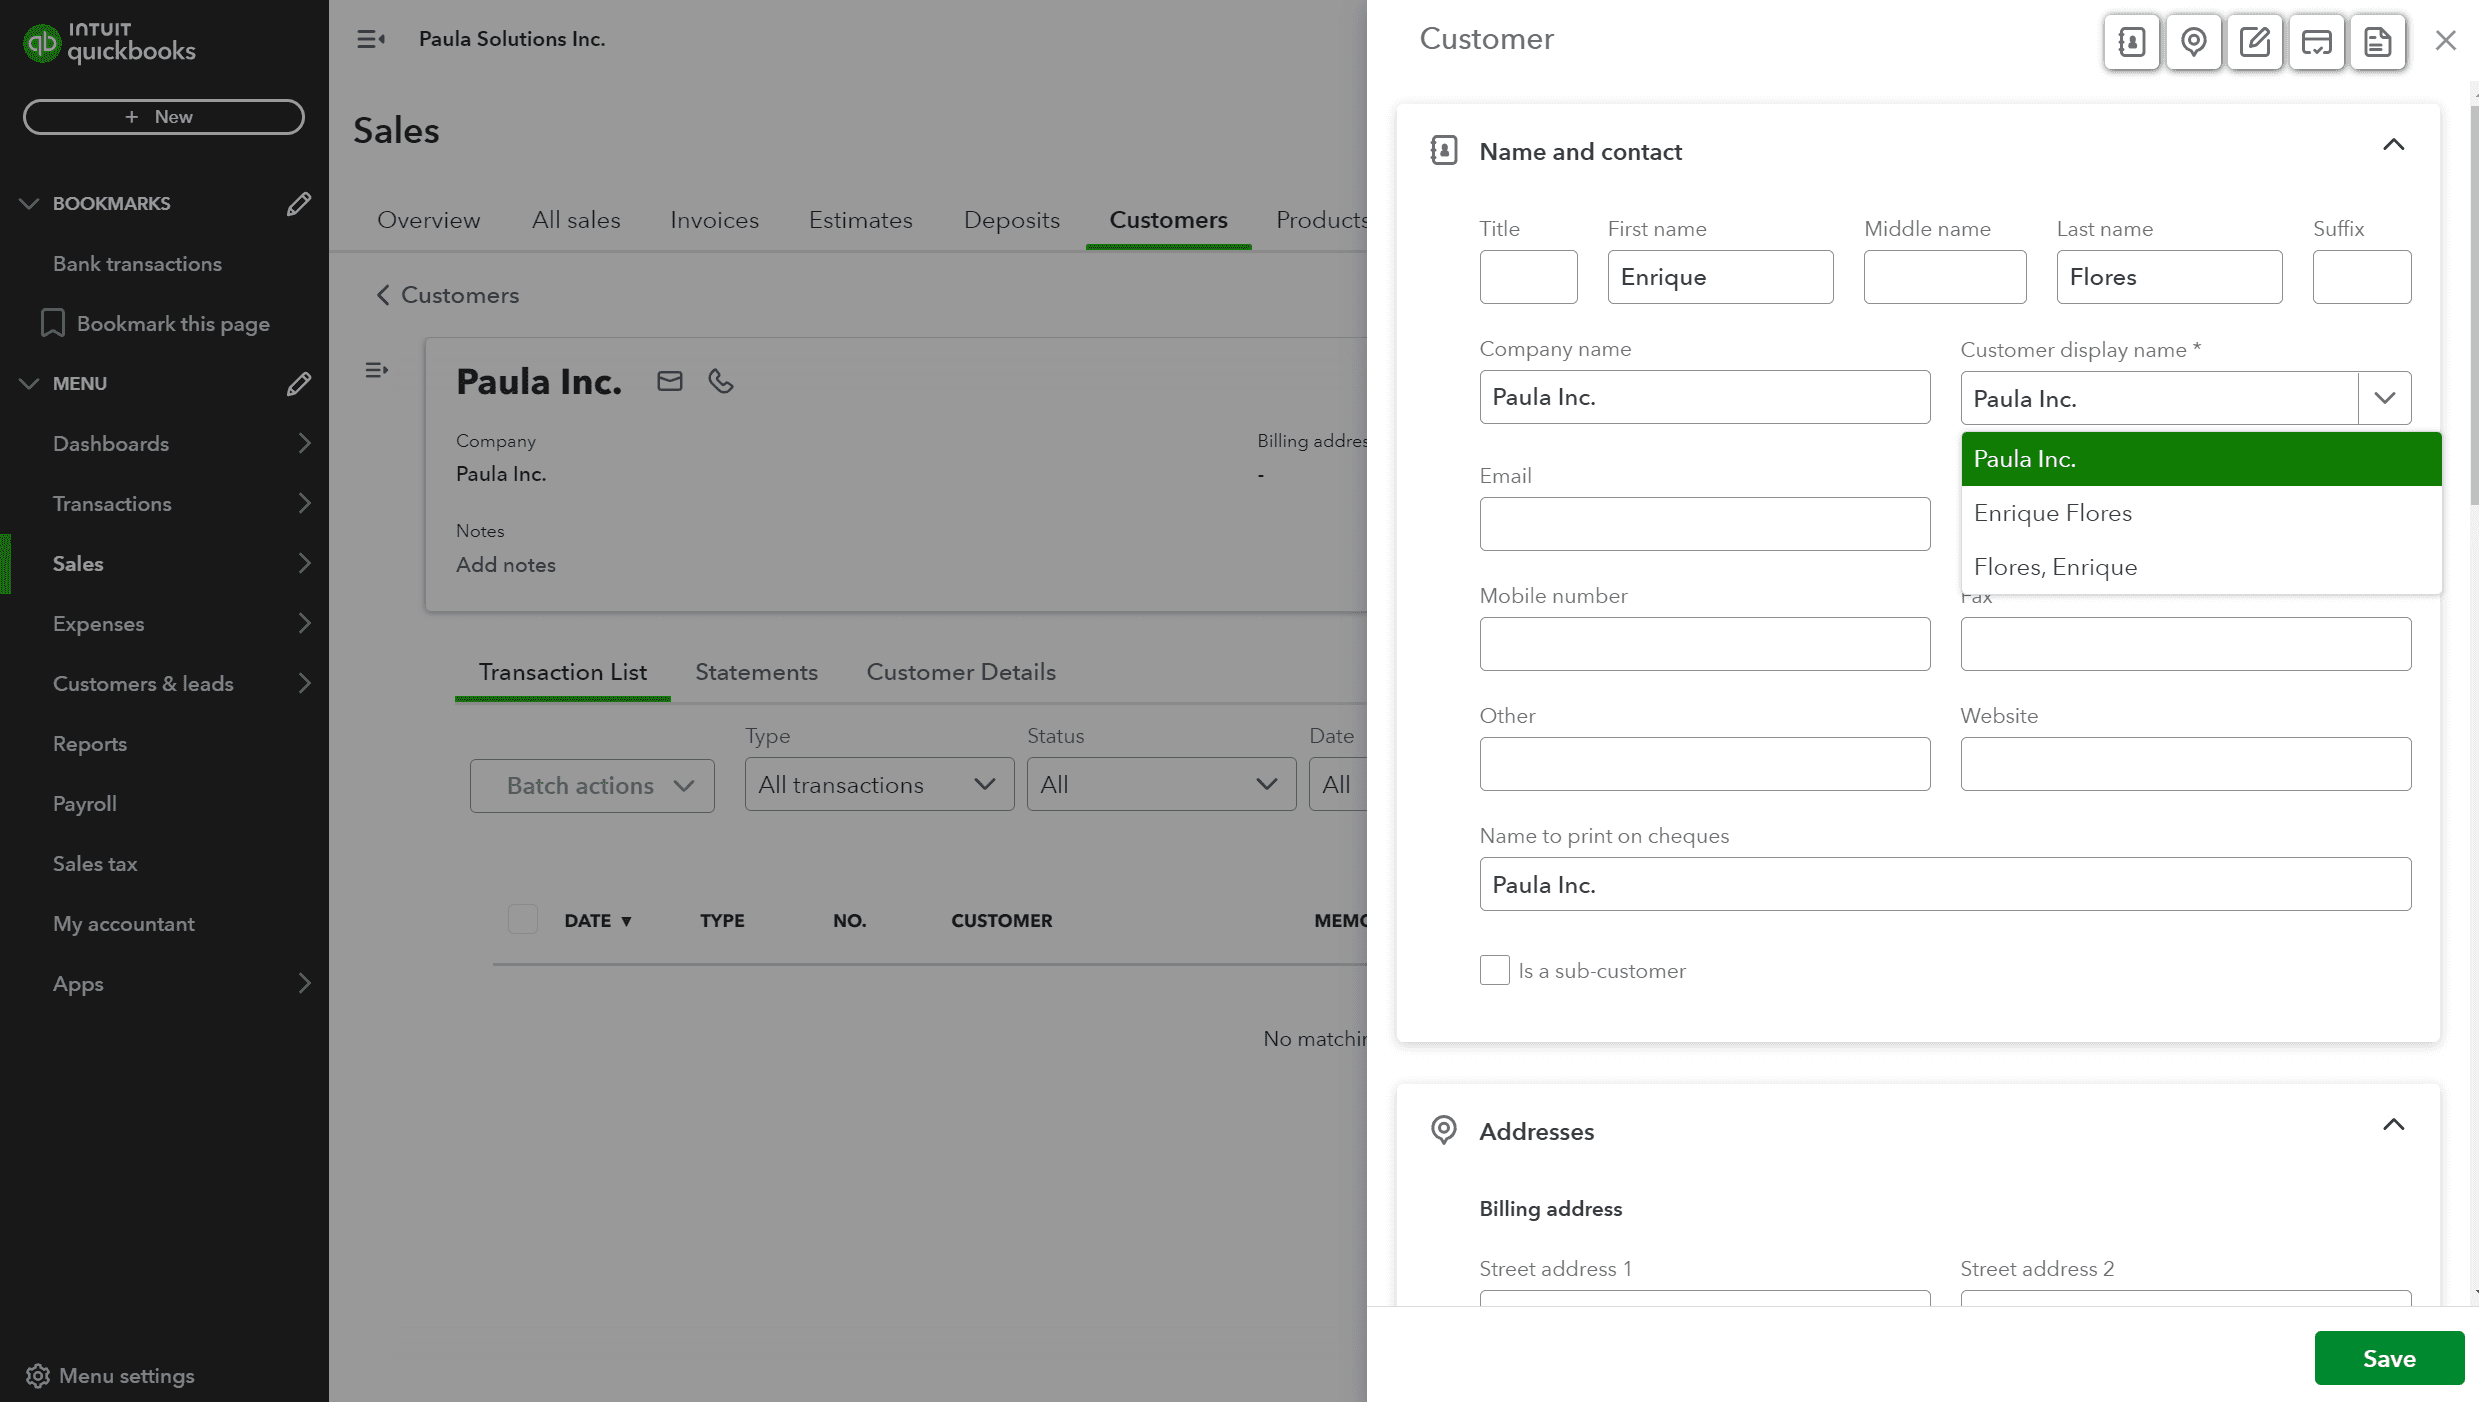
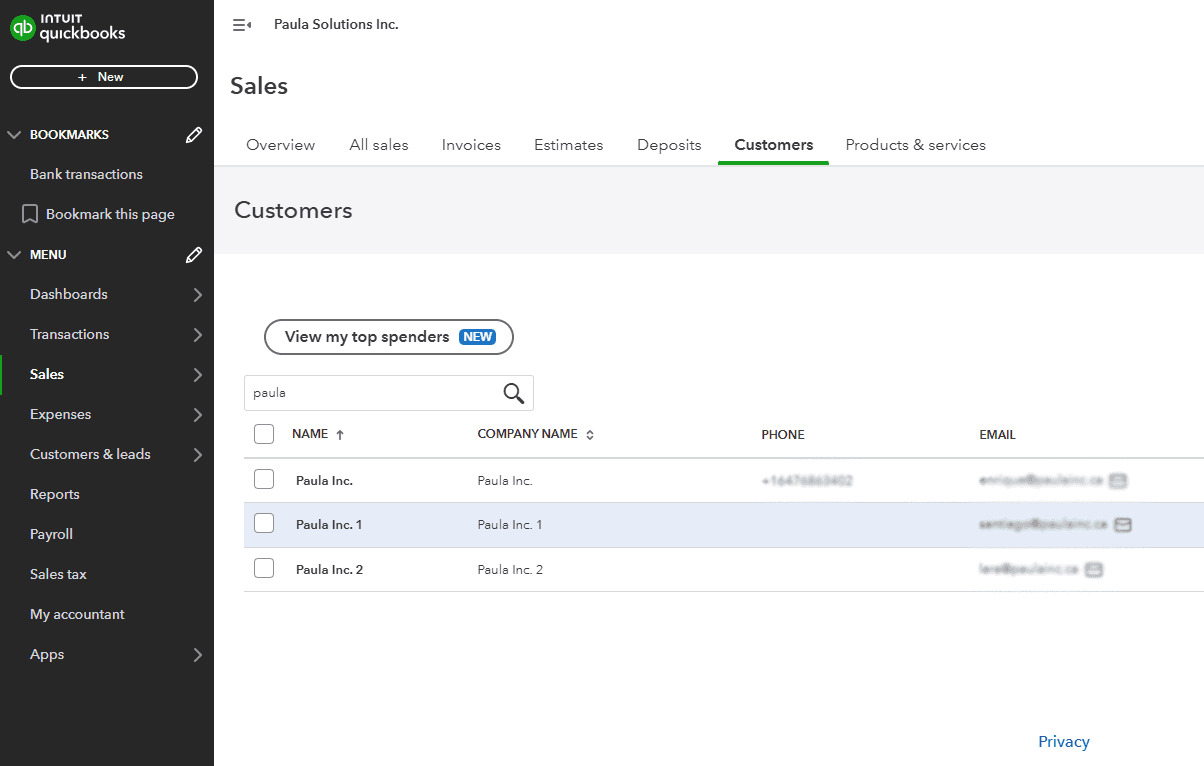
If you set the lifecycle stage of Companies who become clients accordingly (Customers or Clients) in HubSpot and also set each individual underlying Contact's lifecycle stage to Client by enabling Lifecycle Sync, you may end up with multiple entries in QuickBooks — one for each Contact associated with the Company.
The Solution: Create a Billing Contact
To avoid duplicates, designate a single billing contact for each company. This way, only this contact will be sent to QuickBooks as the primary client, ensuring just one entry per company.
Understanding the HubSpot-QuickBooks Integration
The native integration between HubSpot and QuickBooks, available in the HubSpot Marketplace, syncs several data points:
Products and services between QuickBooks and HubSpot.
Invoices from QuickBooks with HubSpot.
Customers in QuickBooks with contacts in HubSpot.

Step 1: Create an Association Label for the Billing Contact
To assign a billing contact in HubSpot, use association labels. This feature allows you to define the relationship between a contact and a company, designating one contact as the billing contact.
Instructions for Creating the Association Label:
Go to Settings in HubSpot.
Navigate to Contacts > Associations.
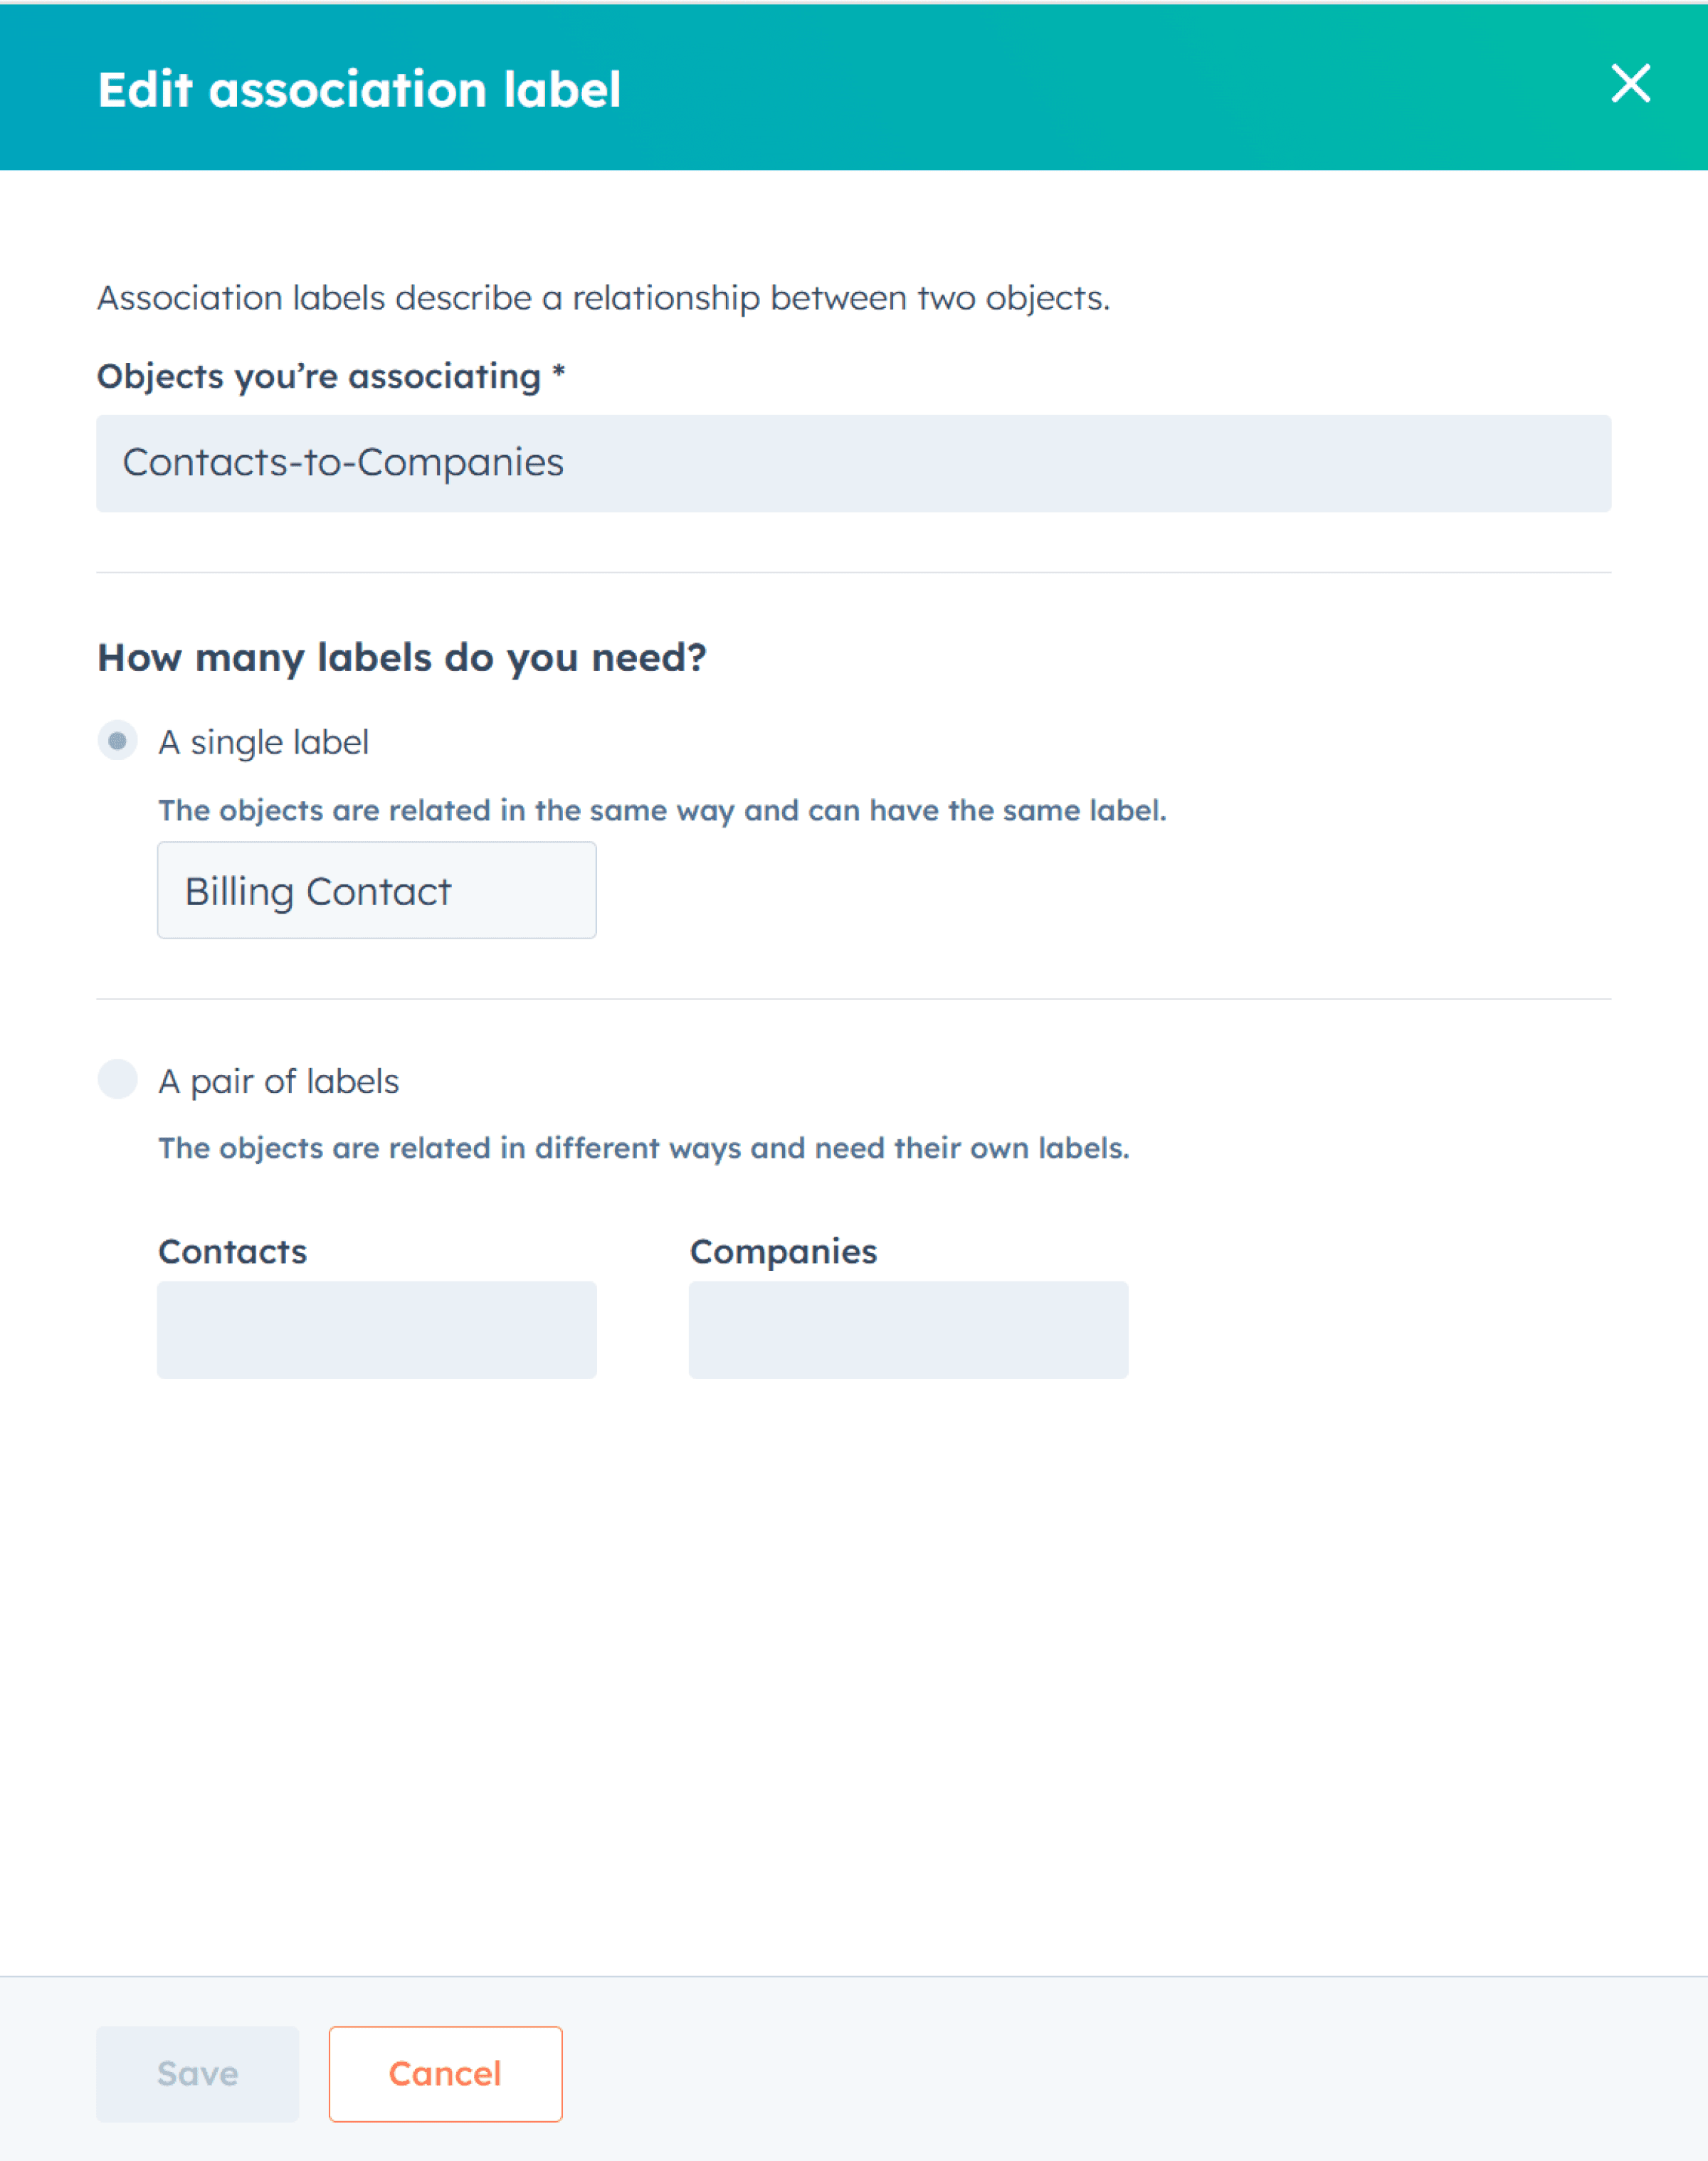
Create a new association label, such as “Billing Contact.”
Define that each Company can have only one Billing Contact, and a Contact can only be Billing Contact for one Company.
This setup ensures there is only one designated billing contact per company, avoiding duplicates.
Step 2: Assign your Billing Contact
Now that you’ve created the label, you need to assign it to the corresponding Billing Contact for each client organization that you want to show up on QuickBooks as a Customer.
Search the Contact in HubSpot
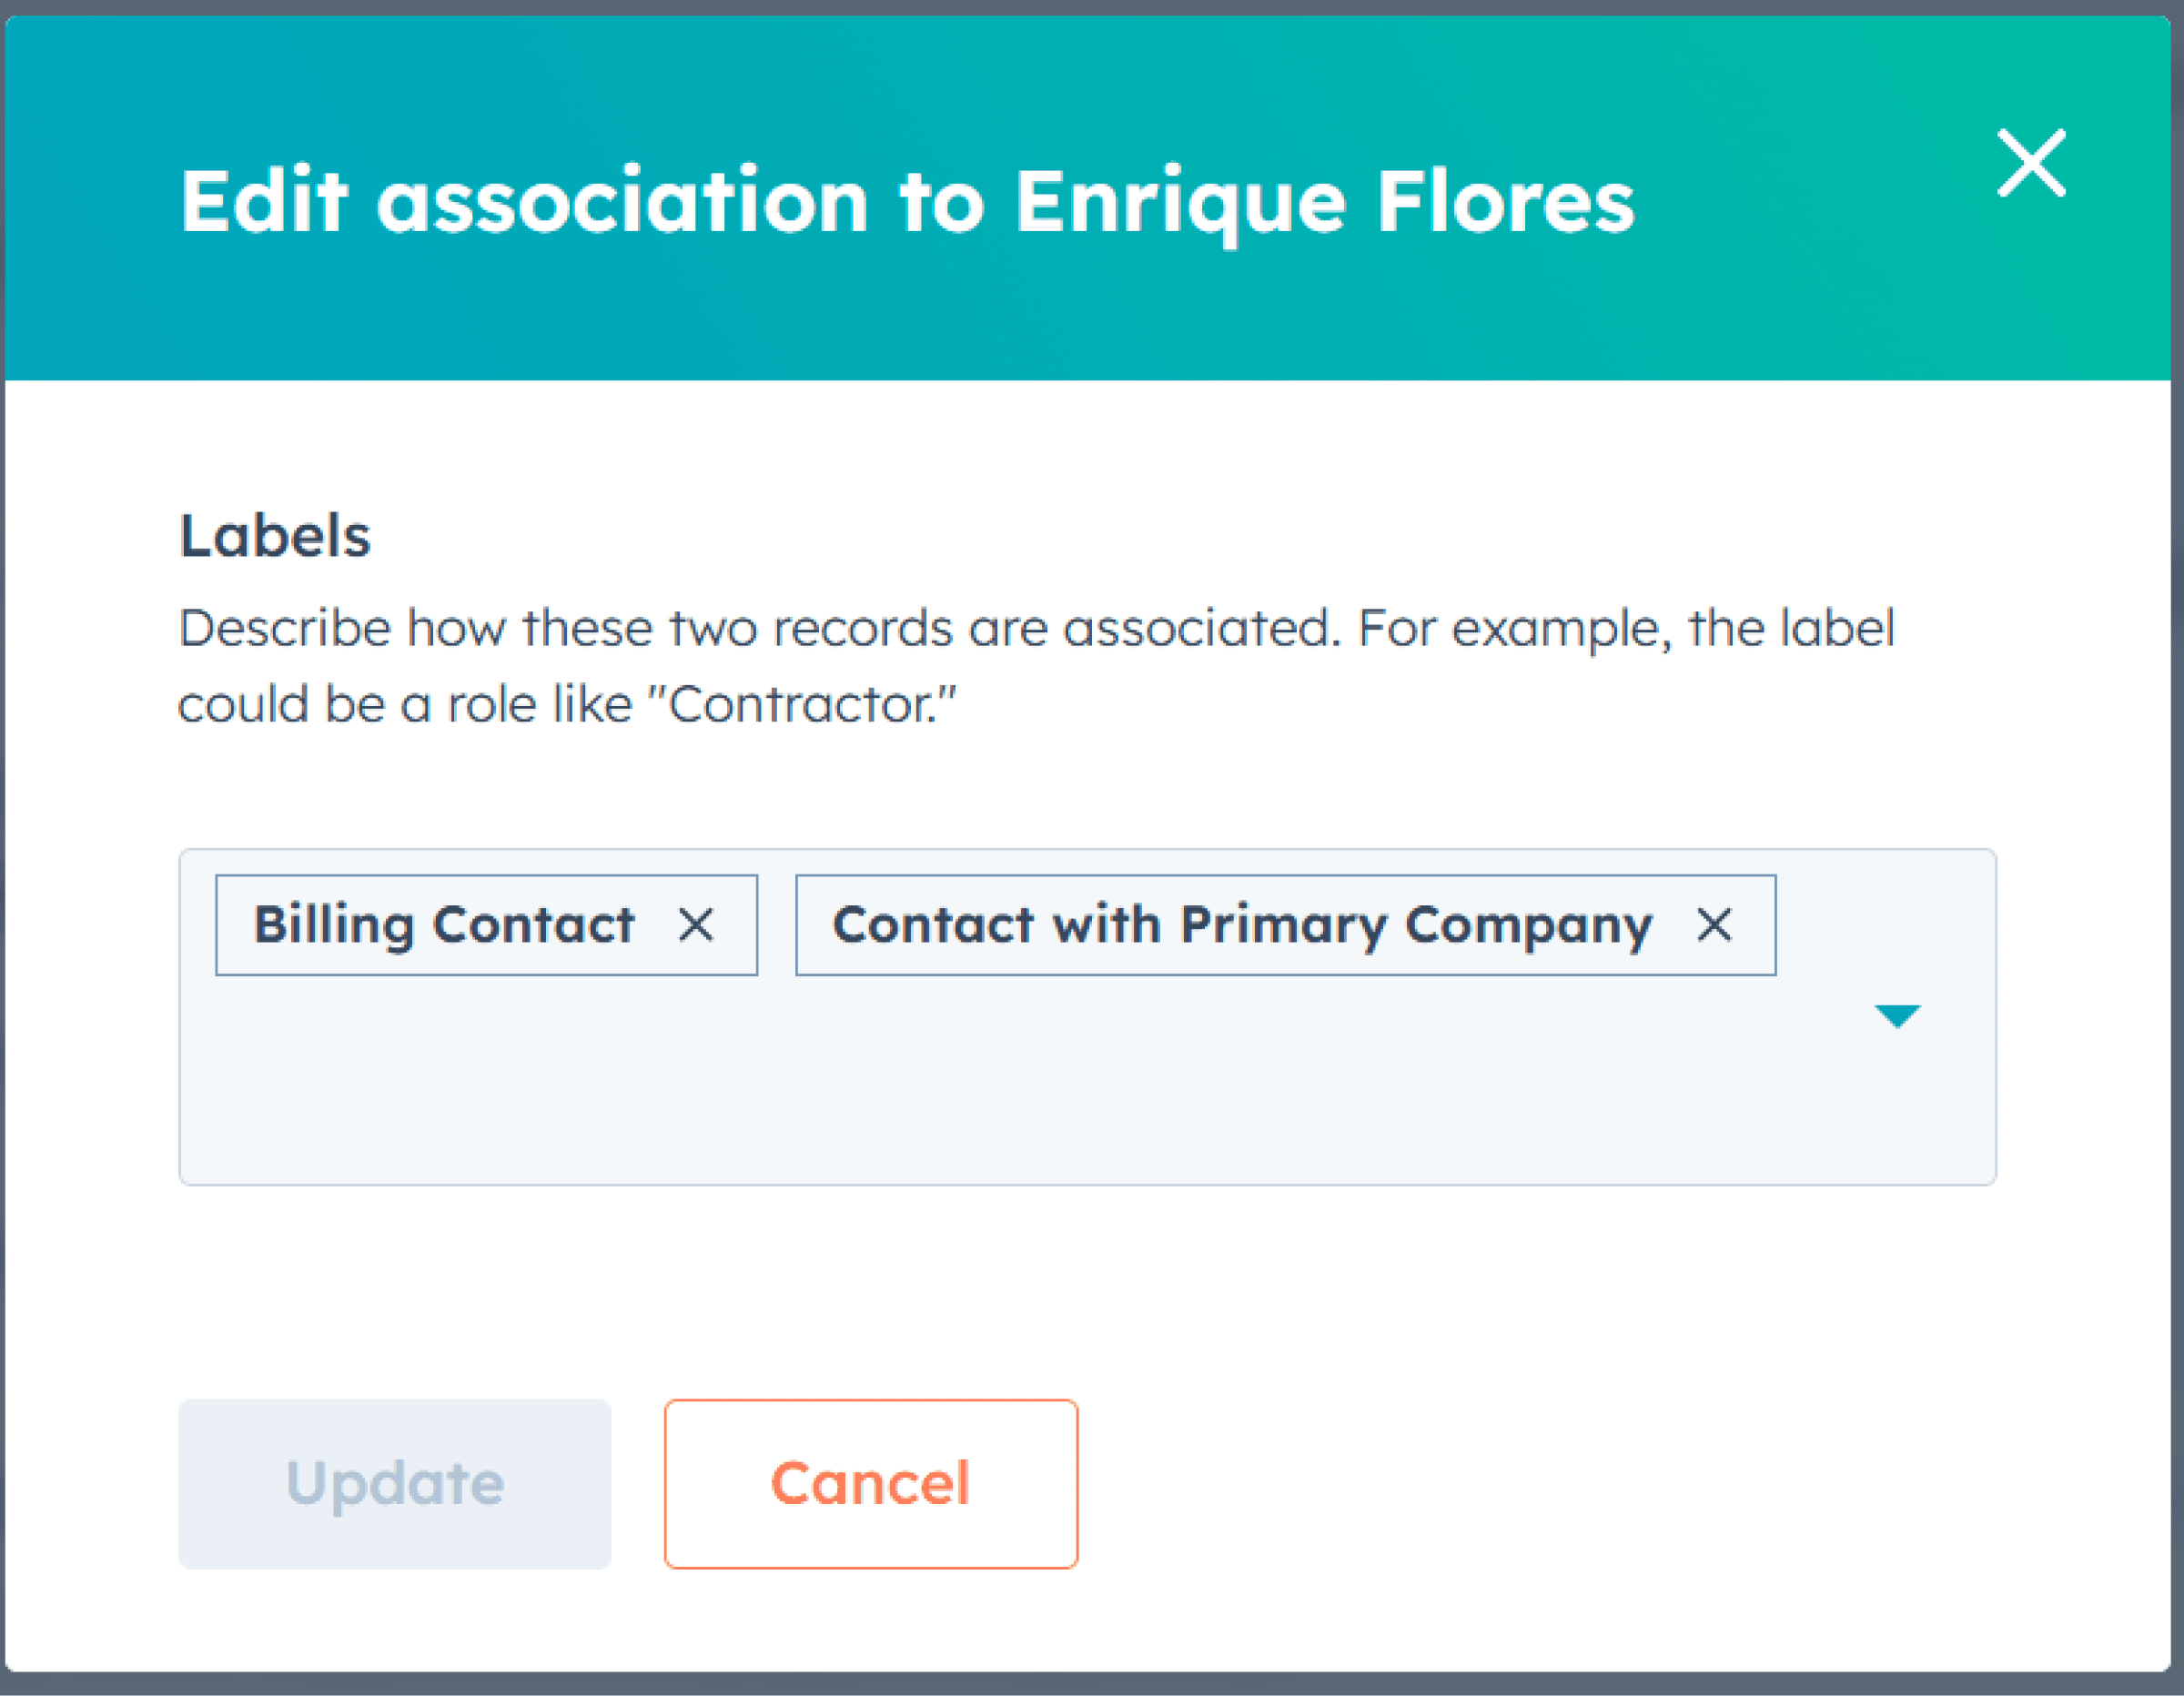
Hover over the associated Primary Company and click More
Click Edit Association Label
Add the new Billing Contact label
Hit Update
Note: Make sure the Primary Company doesn't already exist in HubSpot as a customer using a separate email address, otherwise you’ll get a duplicate contact in QuickBooks.
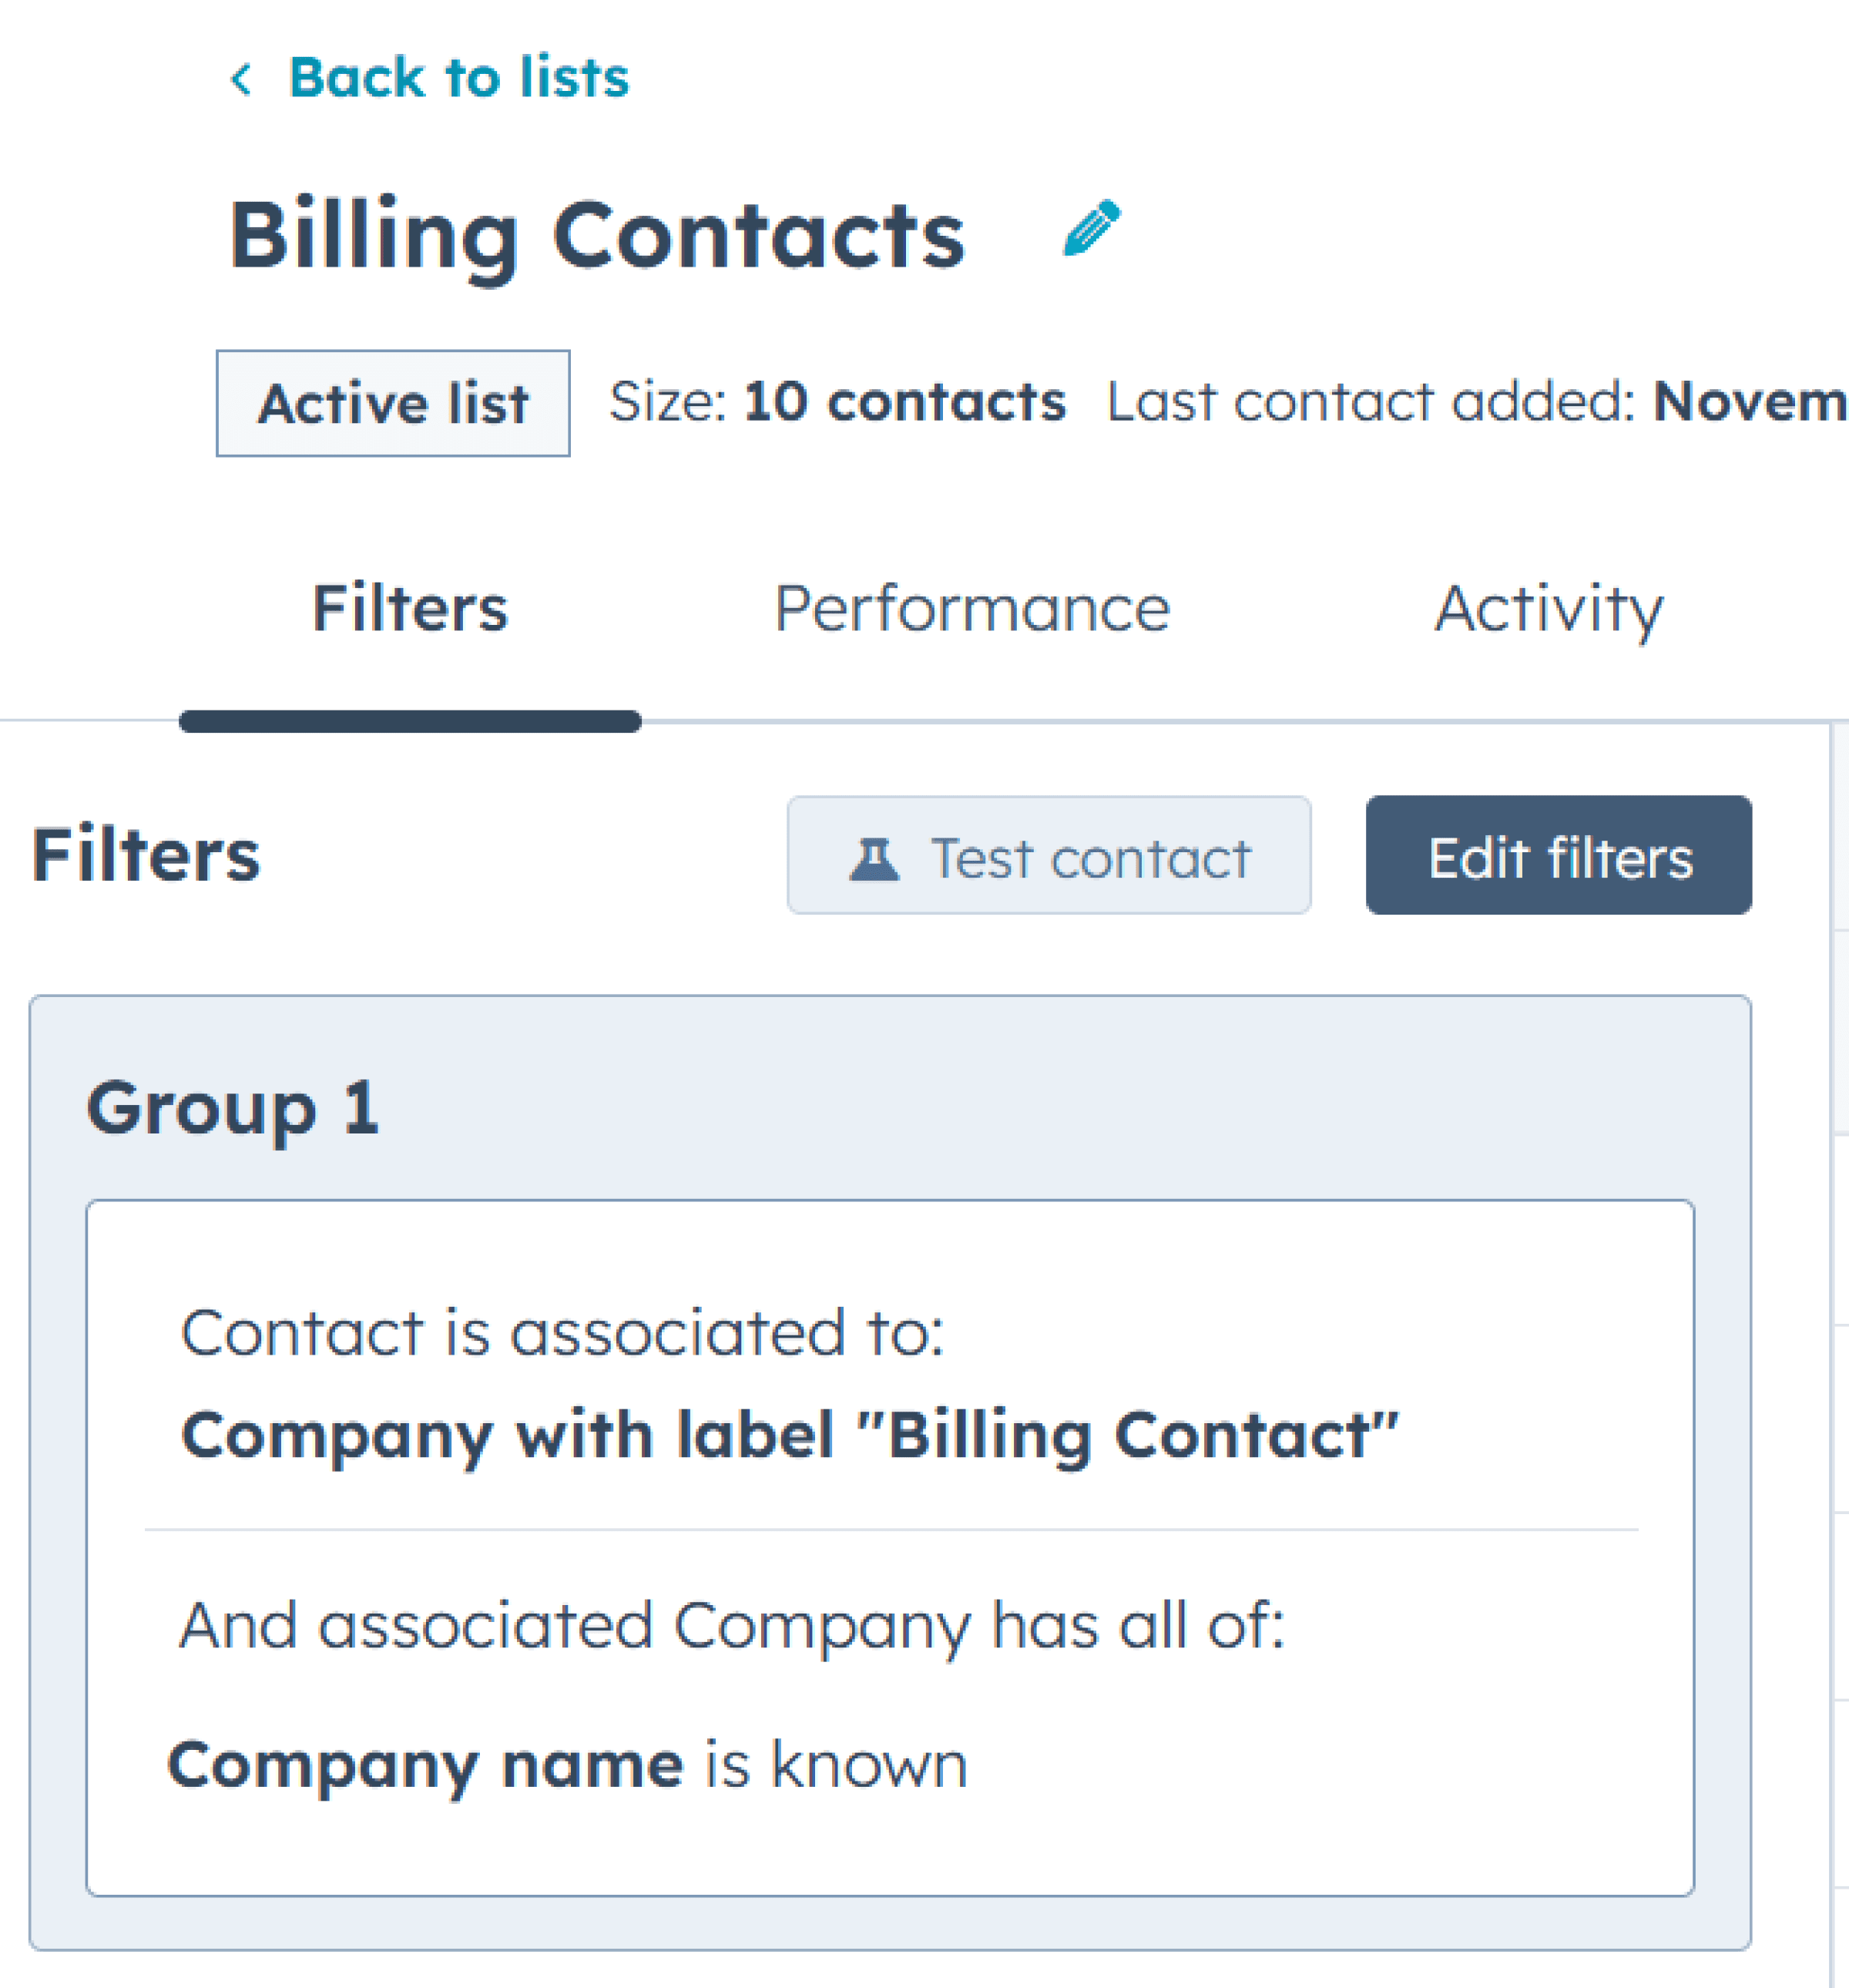
Step 3: Create a Billing Contact List
Unfortunately, the integration doesn’t allow you to use association labels as a direct filter. However, you can create a list that includes all contacts labeled “Billing Contact”, and use that as your filter.
Create a list in HubSpot for all contacts associated with the billing label.
Ensure these contacts are classified as “Clients” or "Customers", or whatever name you use to designate client relationships, in HubSpot
Step 4: Configure Filters in the HubSpot-QuickBooks Integration
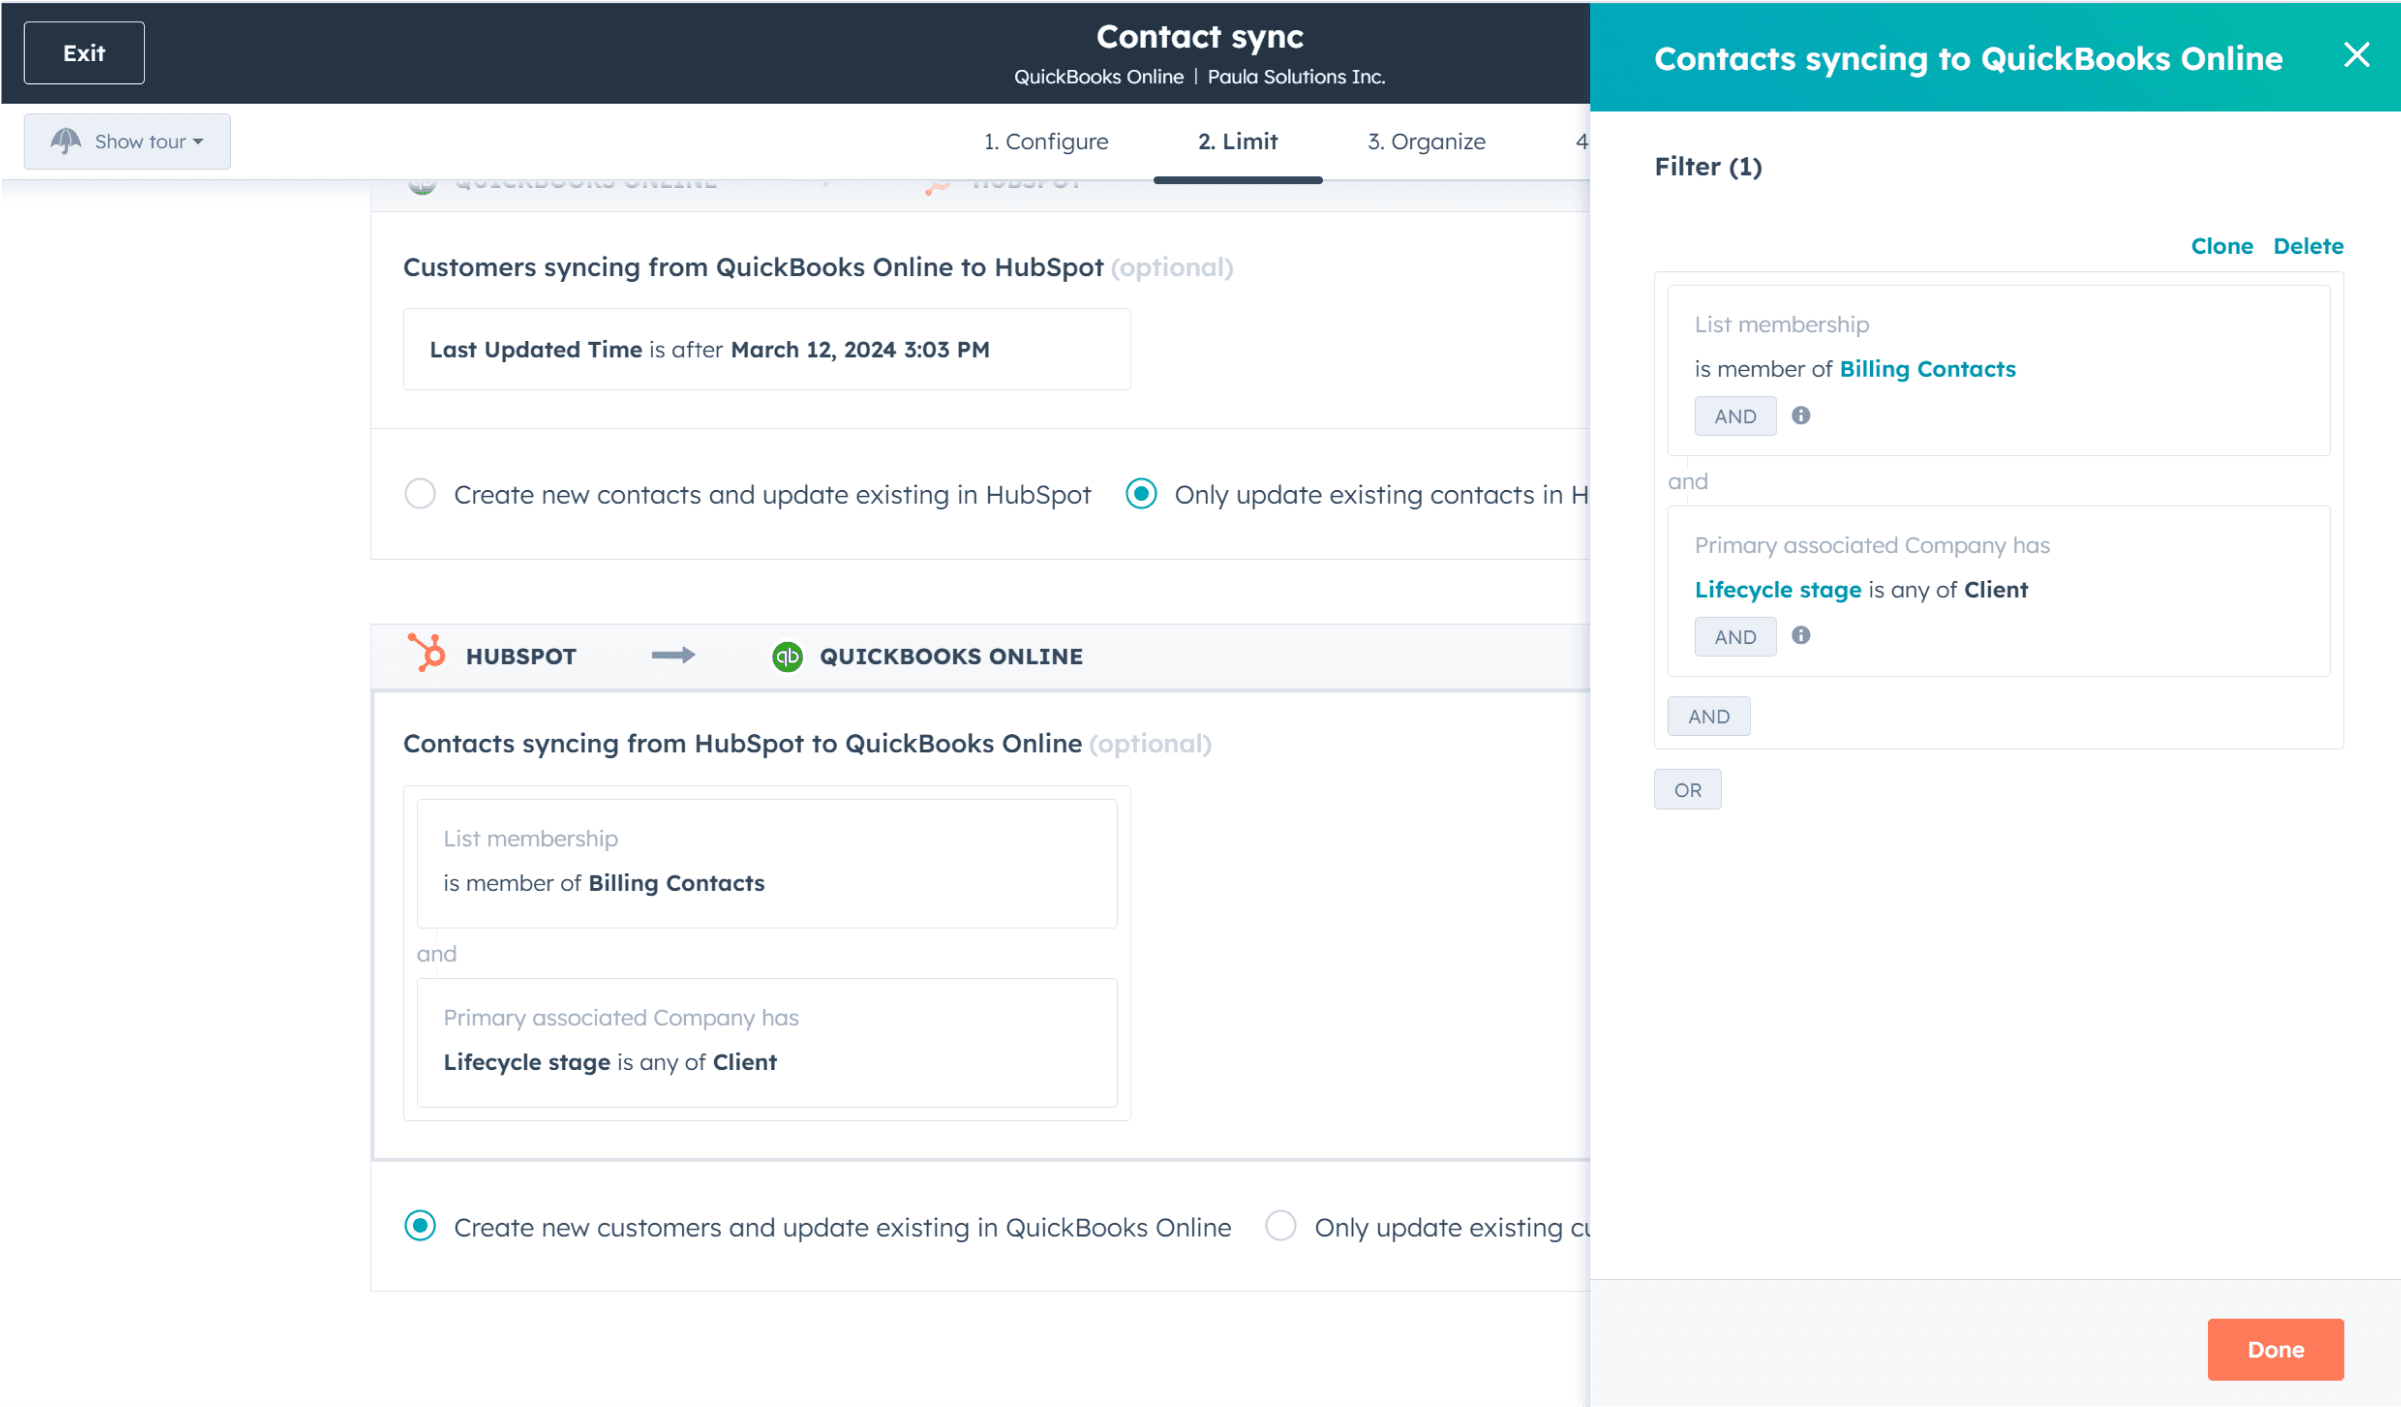
Finally, go to the QuickBooks integration in HubSpot and apply the filters for synchronization. Here’s how:
Go to Settings > Connected Apps > QuickBooks.
Under Sync Overview click Contact sync
Go to the Limit tab
Go to the HubSpot → QuickBooks Online section
Set up filters so that only Contacts who are classified as Clients and are members of the “Billing Contact” list are sent to QuickBooks.
Verification and Display Configuration in QuickBooks
When syncing, QuickBooks will allow the contact’s information to appear under the company’s name rather than the individual’s. To ensure records reflect the company name, set the display name option in QuickBooks to show the company name instead of the contact’s name.
